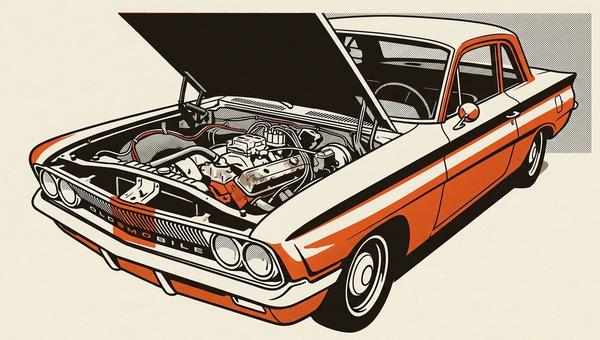
I'm Rewiring My 1969 Oldsmobile Cutlass From Scratch, and It's the Best Terrible Decision I've Ever Made
Rewiring a 1969 Oldsmobile Cutlass is messy, humbling, and completely worth it. Here's what a full DIY harness replacement actually looks like.
The moment I crawled under the dash of my 1969 Oldsmobile Cutlass with a flashlight and really looked at the wiring, I knew. Decades of accessory add-ons, someone else's "fixes," tape that had long since given up on life, and wire colors that matched nothing in any factory diagram I could find. It wasn't a wiring harness anymore. It was an archaeological dig, and some of those layers were genuinely alarming.
So I decided to pull all of it. Every last wire. Start from zero.
That decision felt clean and righteous at the time. Several weekends in, elbow-deep in a dashboard that smells like fifty-five years of dust and old rubber, I stand by it, but I want to be honest with you about what this actually involves before you go cutting zip ties and feeling brave.

First, the why. A car this age was never going to have pristine original wiring. The factory cloth-wrapped harnesses from the late sixties are not immortal, and fifty-five years of heat cycles, vibration, rodents, and well-meaning previous owners will have done real damage whether it's visible from the outside or not. Insulation gets brittle. Grounds corrode. Connectors oxidize. And every time someone tapped a wire to add a stereo or a relay or a hidden toggle for something they'd rather not explain, they introduced another potential failure point. On my car, there were plenty of all of the above.
The safety case for a full rewire is not subtle. Old insulation that's cracked and sitting against a metal body panel is a fire waiting for the right moment. On a car you're driving, that's not a hypothetical. I've seen what an electrical fire does to an old car, and I wasn't interested in finding out firsthand.
Now, the how. I went with a complete universal wiring kit rather than trying to source a factory-correct reproduction harness, because my Cutlass is not trying to be a concours trailer queen. It's a driver. It gets driven hard and enjoyed on back roads the way it was meant to be, and I've already made enough modifications that chasing factory-correct wiring would've been a fiction anyway. A quality universal kit gives you properly gauged wire for each circuit, modern insulation that won't crack when you look at it wrong, and clear labeling that will still make sense to me in ten years when I'm tracing something at midnight.
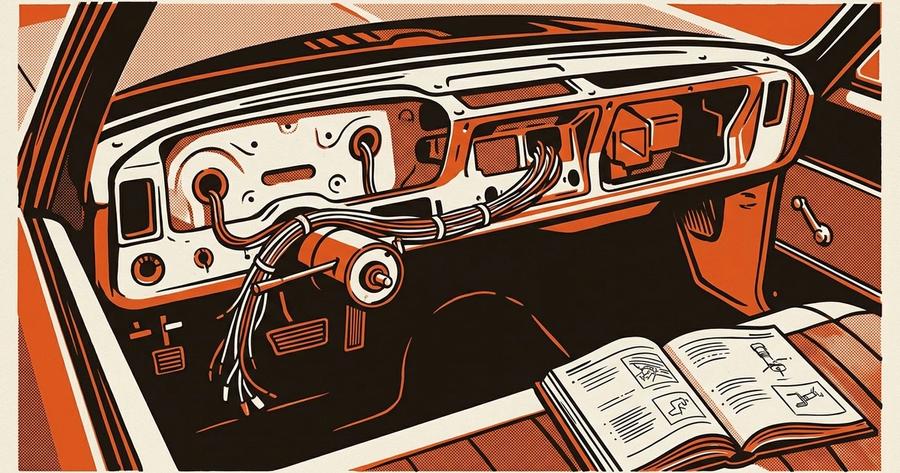
The process started with documentation. Before I disconnected a single wire, I photographed everything from every angle I could reach. Then I made my own hand-drawn diagram of what was actually in the car, not what the factory service manual said should be there, because those two things were not the same. If you skip this step, you will regret it. You will absolutely regret it.
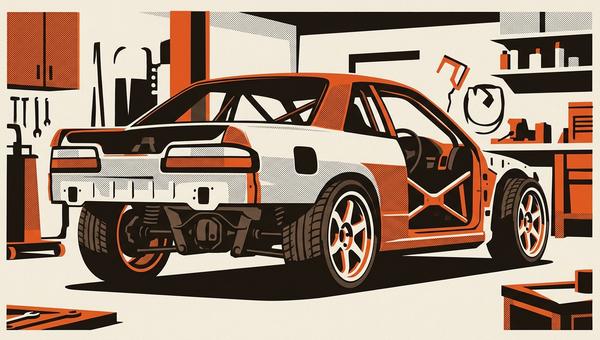
Then I started pulling. The main under-dash harness, the engine bay harness, the firewall pass-throughs. I labeled every connector as I went, even the ones going to things I planned to replace. Old habits. The dash came out to give me real access, which sounds dramatic but is genuinely the right call. Trying to route new wiring through a fully assembled dashboard is a lesson in frustration I have no interest in teaching myself.

Routing the new harness is where patience becomes the only tool that matters. Every grommet matters. Every place a wire passes through a firewall or a body panel gets a proper grommet, no exceptions, because a wire chafing against bare metal is how you get the kind of short that makes smoke happen. I used split loom and braided sleeve in different sections depending on what I wanted the finished product to look like, and I spent probably more time than is strictly rational making sure routing was clean and away from heat sources.
Grounds deserve their own conversation because they're the thing people get wrong most often on old GM builds. The factory ground strategy on a car this age was optimistic. On a car that's been modified and has accessories that weren't there in 1969, it's nowhere near enough. I ran dedicated ground wires to a common chassis ground point rather than relying on body grounds for everything. Alternator, battery, engine block, chassis. Proper gauge, proper connections, star washer on each one to bite into the metal. This is not exciting work. It's the kind of thing that shows up as zero drama rather than something you can point to and feel proud of, which is basically the definition of doing it right.
Fusing is the other place people cut corners and shouldn't. Every circuit in my car is individually fused at the appropriate rating for that circuit's load, not just "whatever fuse I had." A fuse that's too big for the wire it's protecting doesn't protect the wire, it just makes the wire the fuse, which is significantly worse. Modern blade-style fuse blocks make this easy and let you add circuits without horror.
I added a few things that weren't factory: a dedicated circuit for a modern stereo head unit, proper relay-switched circuits for the electric fan I put on years ago, and a relay for the headlights so they're not running full current through the switch. None of that is radical, but all of it was done cleanly this time instead of the zip-tie-and-prayer approach the previous owner preferred.
Where am I now? The engine bay harness is done. The main under-dash harness is routed and about sixty percent connected. The dash is still out, which is simultaneously convenient and maddening. I have a list of every circuit left to terminate and a healthy pile of heat-shrink butt connectors that I refuse to substitute with anything that just crimps and hopes.
The honest take: this is not a weekend project. It's not even a comfortable three-weekend project if you're doing it right and working alone. It requires methodical attention to detail in a way that's harder to sustain on a classic car than on something more modern, because nothing is labeled, nothing is accessible, and every time you think you're done with a section something reveals itself. But every wire I put in, I put in knowing exactly what it does, where it goes, what it's protected by, and why it's routed the way it is. That's worth something. Especially on a car I plan to keep driving for a long time. If you find yourself mid-project and questioning a circuit, a multimeter and the discipline to use it properly will save you more time than any shortcut.
The Cutlass deserves to be driven. That's the whole point. And it's going to get driven, just as soon as I finish connecting the instrument cluster and stop finding excuses to reorganize my terminal kit.
Written by
Kathlien "Kat" Mangino