
Classic & Vintage
Porsche's Transaxle Experiment Turns 50: The Cars That Nearly Killed the 911
The Porsche 924 launched 50 years ago and started a transaxle lineage spanning the 944, 968, and 928. Here's why these cars still matter to enthusiasts.
Ben Eckels · Jul 28, 2026
Classic & Vintage
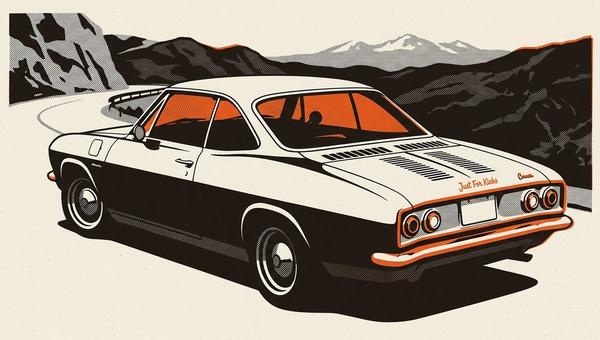
The Corvair GM Should Have Built
Christian Kiesz · Jul 28, 2026
Builds & Projects
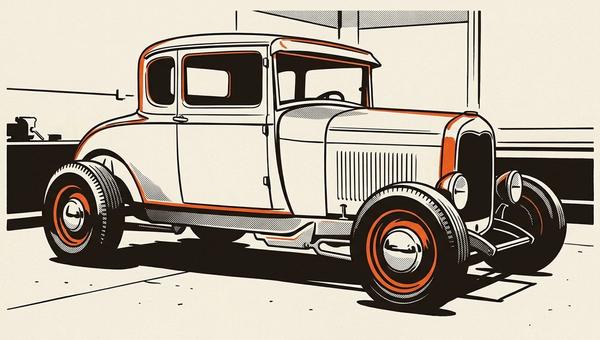
Gumby the Hot Rod: Swapping the Body, Z'ing the Frame, and Narrowing a Rear Axle on a 1929 Ford Model A
Kathlien "Kat" Mangino · Jul 27, 2026
Tech & Engineering
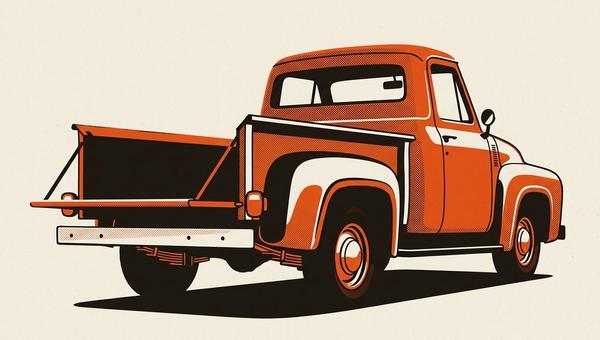
How Ford's Flex-O-Matic Suspension Helped Sell Trucks to People Who Didn't Want a Truck
Tabitha Corman · Jul 26, 2026

Driver's Cars
The 2027 Nissan Z NISMO With a Manual Transmission Starts Under $70K
John Buchanan · Jul 24, 2026
Builds & Projects
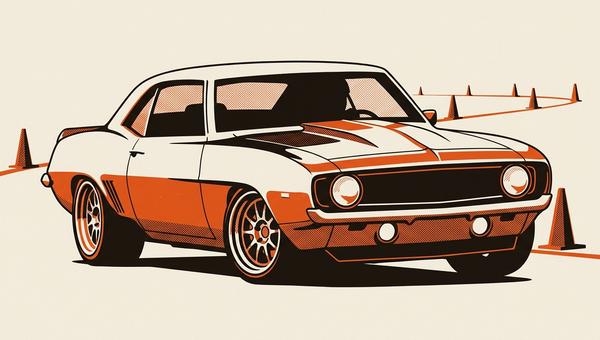
720 Horsepower, All Motor, Street Legal: Efrain Diaz's 'Poledancer' 1969 Camaro
Tom Kubo · Jul 24, 2026

Track & HPDE
Budget Supercar Hits the Track: What the Lap Times Actually Tell You
Zach Bronstein · Jul 23, 2026

Car Culture
Sports Cars and Snap-On: Casino Magnate's Estate Auction Is an Automotive Jackpot
Lee Hamrick · Jul 21, 2026
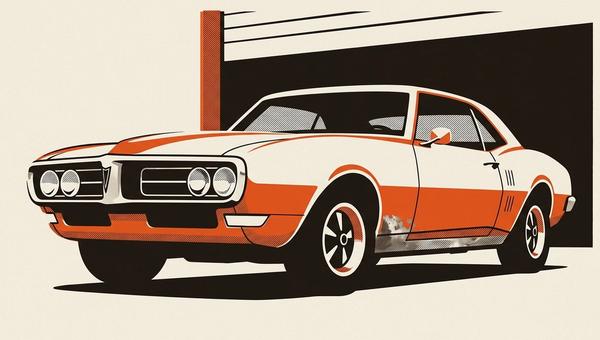
Builds & Projects
Project Fired-Bird: What It Actually Takes to Wake Up a 1968 Pontiac Firebird
Jeremy Dorando · Jul 20, 2026

EVs & Hybrids
The EV Graveyard: Every Model Pulled from the U.S. Market in 2026
Lyndsay Reynolds · Jul 20, 2026